Showing posts with label Lighting. Show all posts

Wednesday, May 27, 2015

Pre-visualization vs Site visits?

Pre-visualization vs Site visits

Good morning everyone.

This week I have been doing quite a bit of pre-visualization and site walks. 

Well, they are both the same? Actually, no they are not. 

In my classes this week we have had to pre-visualize a scene before we actually shot the final images.  To me it is actually seeing the entire completed photograph before I even clicked on the shutter release button. What I want to say here is that you should just not think of pre-visualization as where you want to setup up your lights and models.

It should really be about every single facet of your photograph. You should consider, aperture, wind, light direction, poses, flag placement, hair and wardrobe and actually see what that photograph would look like; as if it were the front cover of the magazine that you would like to be featured in. Make sure that you even think about text placement, colors and take it even further by thinking about how you could use the photograph in a composite. Basically, what would the client want?

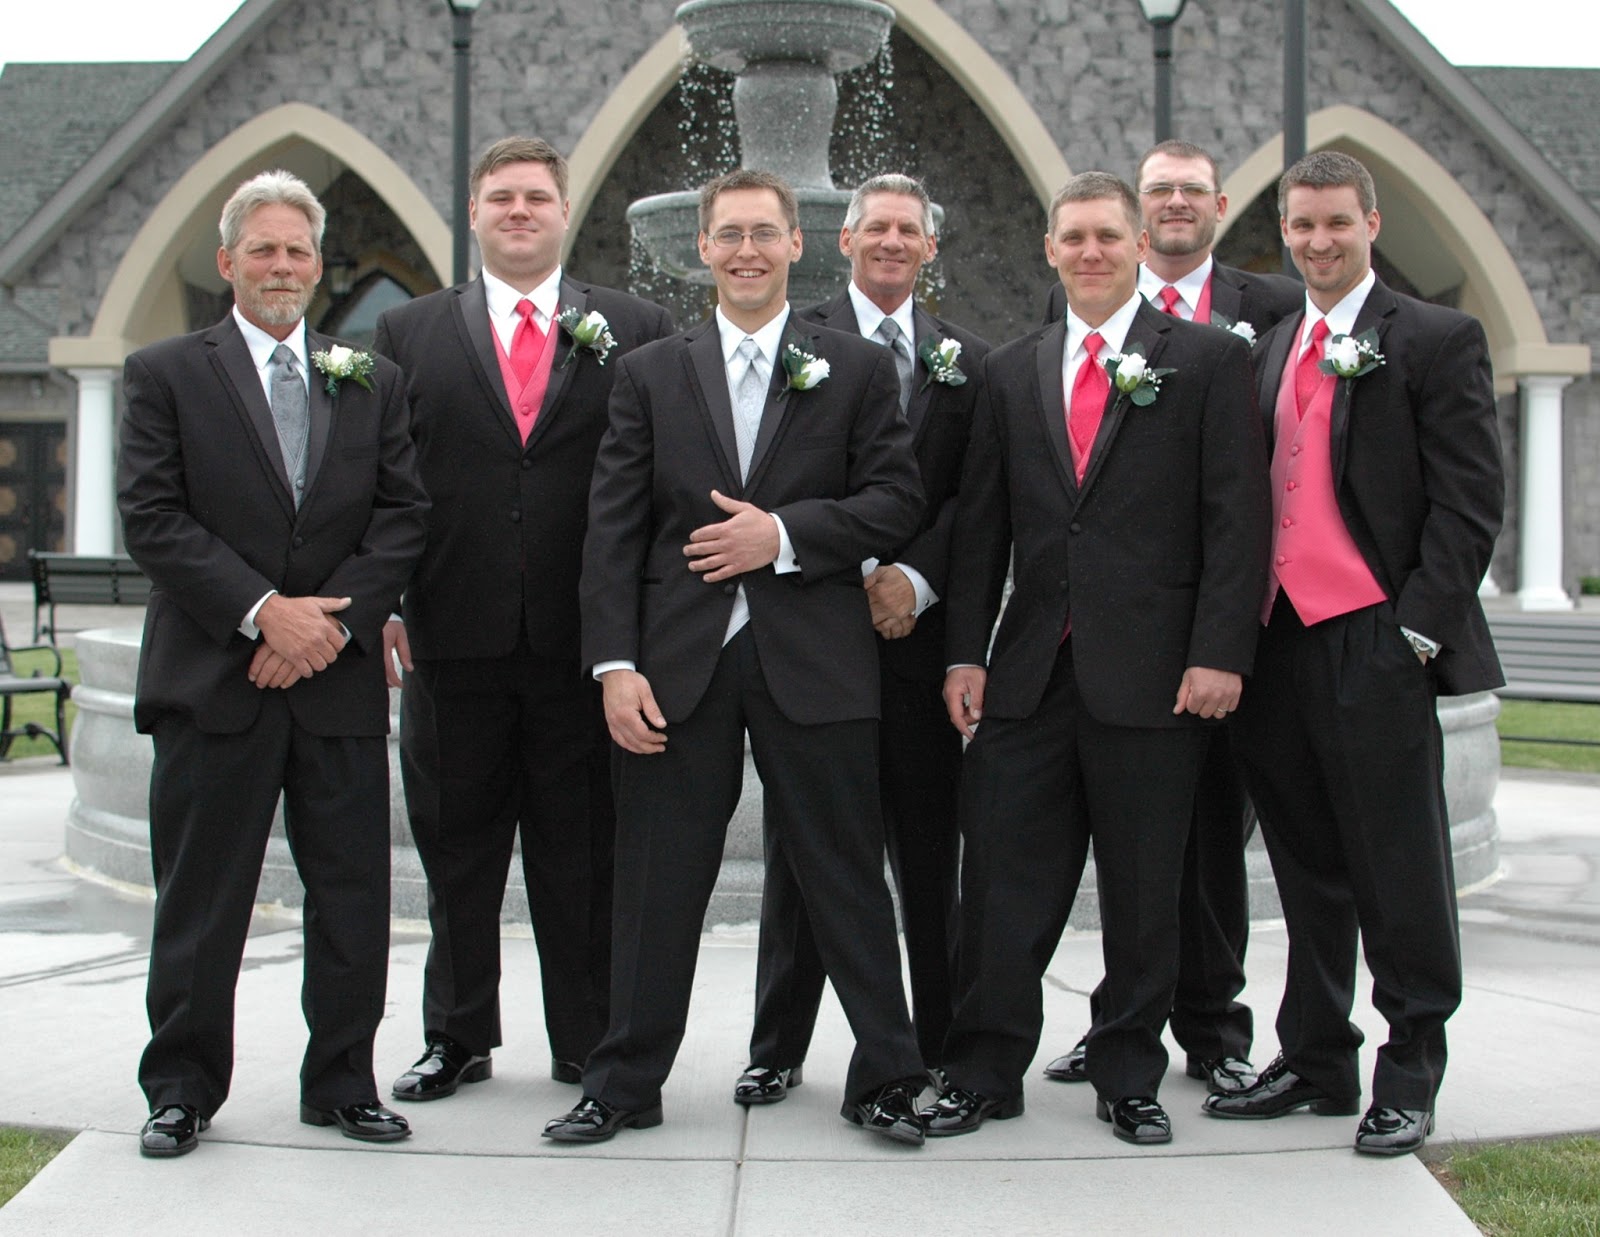
What is it that the client is wanting to do with your photograph. It is not just about taking the perfect photograph, but how everything will come together when you finally deliver the photograph to the client. Where will they use it. Is it for a wedding album? Cover of a product? As they turn the page is the model facing the viewer as they turn the page or looking towards the middle of the page.

You might say that is a lot of visualization, but to me it says a lot about how you want to change the pose of the model. If you change the pose then the lighting is going change, which in turn changes the feel and look of the photograph.

Pre-visualization is a powerful tool and when used correctly can open a can full of creativeness.

Now, onto site visits. I always think of this as where my light is coming from. We are always going to be painting with light so I always look for areas of where the light will be coming from when I am on the scene for the final shoot setup. What time of day will I be there and what do I have to work with?Here is a great app to use, which I know will help you with just that, light direction. The Photographer's Ephemeris It is a great tool if you would like to plan where light will be coming from on location. Not just for outdoors,but also if you are in-doors and you would like to use some large windows. 


The site walk is used often to get to know your terrain. You are going to use your pre-visualization in this location so here is where you look for places to place everything.

You are looking for power sources, slope of the land, size of the space, height of interior rooms. It is also a trip to see if your visualization will actually work within the environment of the location. The site visit is also a way to figure out all the other logistical requirements you might need. Who is going to carry all the equipment, is their budget for transport, is it going to be windy (if you are outside) and last but not least, is it private property and do you require permission to get inside.

The two, pre-visualization and site visits work very closely together and I cannot emphasize how important both are to the success of your shoot.

Therefore, in closing I would just like to say that you should remember to always take notes, make sketches of what you see, hear and smell. But most important of all, take photographs. You might visit more than one location and knowing which one worked and which did not, especially if you are sending someone else can be very important in the long run. Another great app that you could use is GPS MotionX Instead of buying an expensive GPS system for your camera the IPhone version (I am not sure if they make it for other phones) you can track your locations and then email the file to you so you can upload it into Lightroom under the map feature. It will sync up with your photographs you have taken giving you a great idea of all the locations that you have visited. Just make sure that your clocks are synced correctly so that you can get the correct times for each photograph. For only$0.99 it is a much cheaper option.

So here is to better visualization and creative inspiration from all of you.

Have a great week.
Denzil

Ps: Please let me know if you would like to see something here we could discuss.


Wednesday, May 20, 2015

Crossfire Lighting

Crossfire Lighting.


Good morning everyone. Today I am going to show you a great way to simulate the sun in a photograph if you have no sun. It may also be suitable it you are photographing on an overcast day and your client may have wanted to have a backlit photograph with the sun shining through onto the hair.


This is the lighting setup that you could use when shooting for this type of photograph. You could use two strobe units or if you only have a single strobe, adding a reflector can help light the face as well.


Untitled.png Light_setup2.png


Your background can be any background,just ensure that you select a background that does not detract from your subject. Using a shallow depth of field will also help in making sure your subjects stands out.


To get  great sunlight effect against your subject hair. I would suggest using a light meter and look to obtain an exposure of f11at 1/250 sec on the back of the hair. You will have to shoot in manual mode. Your sync shutter speed will depend on the type of camera that you have.

Your key light should be approximately 2-stops lower at approximately f8. Using your light meter you can adjust your strobes accordingly.


The tricky part when using the reflector though would be to ensure that you have enough light bounce from your hair light at the back of your subject. Make sure that you have the reflector close enough to your subject and try changing the reflection surface. Use silver or white and try an obtain the results you desire.


Here are two images. One with the strobe lights and the other with the reflector. See if you can identify each setting.


best5-2.jpg  Reflector.jpg
There is a distinct difference. The entire look a feel can change giving your photograph a completely different “feeling”


I think it all comes down to what equipment you have to work with and what your client would like to achieve.


It is a simple setup that can work anywhere. Indoors and out and also great for any location shoot because you need the minimum of equipment.


Have a great day everyone. Keep on photographing.


Denzil

Ps: Please let me know if you have any suggestions or would like to see something you are working on in this Ambassador blog.

Sunday, February 1, 2015

Canon Speedlites, Which One to Choose?

This week I am writing on the topic of Canon Speedlites, I apologize for not covering Nikon as well but I only use Canon as I am a Canon shooter.

As a new photographer, there are literally tons of equipment you will be buying as you work on your degree at AIOPD. Cameras, backdrops, lighting, both strobes and continuous, meters, graycards, the list goes on and on.

When it comes to lighting and especially strobes, which are one of the most popular lighting choices for photographers, you not only have regular strobes like AlienBee, but also their smaller cousin, the Speedlite.

Regular strobes are nice but expensive, especially if you need portability, as you have to buy models that can take battery packs and then the battery packs are not cheap either. The cheaper alternative is Speedlites. A Speedlite, external flash is basically the same thing as a strobe but in a smaller, cheaper package and more portable.

Speedlites, like strobes, come in different models and have different power levels and capabilities. Today, I will be talking about the three most common models of Canon Speedlites, the 270EX, 430EX II and the 580EX II.


The 270EX is Canon’s smallest external, hotshoe mounted flash. You can pick up the 270EX on Amazon used for around $50 or new for around $200. The 270EX is handy as it’s small and it for when you need a discrete flash and your camera either doesn’t have pop-up flash or you need more power. The 270EX is handy for those situations, but other than that, not really worth the money and I never bothered to pick one up as it has limitations. It cannot be turned or used for bouncing and has no zoom. It is strictly a straight forward flash.

The next and best choice for a starting flash is the 430EX II. The 430 is Canon’s slave flash and is an excellent choice for a first flash whether your camera has pop-up or not. The 430EX II is a bounce, zoom flash, so when set for ETTL it will set itself for your lens focal length up to 105mm and it will show the exposure in your camera meter, with the flash factored into the equation. You can swivel the 430EX II to 180 degrees and even tilt the head for bouncing the light off the ceiling or wall behind you. This flash comes in handy for when you need the light of s strobe but don’t want that light to hit the subject head-on. You can get the 430EX II at Best Buy for around $250-$300.

The third and final flash I have here is the Canon 580EX II. This is the most expensive of the Canon Speedlite (although the 600EX RT is out now too). The reason for this is the 580EX II is the Master Speedlite. What that means is the 580EX II has special hardware inside it that let’s is act as the control flash for a multi-flash, wireless set up. You can set the 580EX II to Master mode and then it can control other 580EX IIs or the 430EX IIs as well. This comes in handy for when you need a multi-flash set up and cannot set all the Speedlites in direct, line of sight placement so that all of them flash when the primary one does and you don’t have a Pocket Wizard, or other wireless flash trigger system. The 580EX II will run you from $350-$600, depending on whether you pick up a new or a used one.

As a new photographer, I recommend the 430EX II for most people and most uses as you can pick up a good wireless trigger system for anywhere from $50 to $400 and control the flash units that way instead of buying the much more expensive 580EX II. If you have the money to spare, I recommend the 580EX II as it’s Canon’s best Speedlite, but I would not buy more than one as the 430EX II is a cheaper alternative for slave flash units.
Comments/Questions

Sunday, December 14, 2014

Night Portraits

   Since photography is literally “painting with light”, one of the greatest challenges in photography is having enough light to do your work. Many photographers buy cameras especially made for high ISO with low noise like the newer Nikons. Other photographers learn and hone their skills using off camera flash like Canon or Nikon Speedlights and still others just avoid shooting in low light situations all together.

    I am personally the kind of photographer who is not afraid of new challenges and always willing to try something new and leave my comfort zone. Yesterday I went out and shot for my personal project as well as my Professional Portfolio class. In the evening, I met with my new photo club to shoot Christmas lights in Conyers, Ga. I have not done a lot of night shooting other than night time long exposures but wanted to try something new, so in addition to shooting Christmas lights around the city, I played around with some night portraits.


    I used one of the clubs member’s son, who was with us and frequently becomes his mom’s modeling guinea pig and made him my victim as well. I did two portraits of him standing in a partially lit alley with only a street light above him and using my iPhone 6 Plus on “torch” mode with it’s LED flash on continuous as a catch/fill light. I am posting them here in both color and B&W as I think the image works either way. I am not saying they are perfect, but I think they turned out pretty good for a first time trying this.


    The point is, in order to grow as a photographer, we need to be willing to try new things and get out of our comfort zone. I know you’ve heard your professors tell you that a time or three and it’s true. To really grow and perfect your skills as a professional, you have to try, practice and experiment. Now get out there and make some awesome photos!
Comments/Questions

Tuesday, November 19, 2013

Gymnastics, Photography & Me...What a Mess!

Good Morning Terrific Tuesday Readers!

So last week I was invited to come over and take some pictures of one of my co-workers granddaughter who is part of a local gymnastic team.  I said "sure, why not!" after all, I have years of studies with the Art Institute and I felt really good about being invited, almost as a tryout to be their official photographer.  What a deal, ah?  So, I packed my equipment, and headed to the gym and to tell you the truth...it was a nightmare!!!

I have never been to the gym before (first mistake) and had no idea what the lighting set up was going to be.  I arrived expecting to take some action shots and what they really wanted was posing type shooting (I didn't have my strobe set).  Parents didn't know I was coming as everything was done through a middle person (big mistake).  Only two of the 14 team members knew that I was coming, and they didn't know it was going to be on that specific day.  On top of everything, the gym lights were not all turned on at the same time (since they were not expecting me) and it was a lighting chaos for me.


So what did I do (I wanted to run away), I just took a deep breath and convinced everyone that it was going to be test shot for me to decide if I wanted to come back.  The rest of the evening went as smoothly as I could have expected and some of the parents asked me for my business card because they liked how I handled the team.


So what do I want you to remember from my experience? 

1.  Do all planning with the point of contact, that could be the manager, the client, or whomever wants the job done, they are the ones that will give you the information you need to be better prepared.
2.  Scout the area and see what it looks like and what equipment you can use to include the props in the area.  I think that scouting is taught in the first two years, (I got overconfident!).
3.  Test your equipment and if needed, bring extra such as batteries, lenses and cleaning materials.
4.  If an unexpected situation arises, by all means keep your cool!
5.  If possible, be ready for any lighting situation.  I couldn't use flash because it was distracting to them and I had to go to 6400 ISO in order to get some action pictures, but the flip side was that the images were grainy.

I am glad to say that I have been invited to come back and get the other type pictures they wanted to begin with.  But...it was a lesson learned!  Check out some of the images around this page, they are all from that shooting.

Hope you all have a great Tuesday!

Your Tuesday Ambassador.

Thursday, August 1, 2013

Would I Buy This Photography?

What a great Thursday! A new sessions starts with opportunities to learn and try new things!

I just finished watching a free Creative Live Seminar over the past three days with a Canon Explorer of Light Award Recipient, Clay Blackmore. I didn't get to watch too closely, but I enjoyed a Master Class with him in Italy last fall, so this was really review. I went back and reviewed my work since last fall, and I’m pleased to see that most of my portraits since that time have turned out great!

When you are photographing people, ask yourself, “Would I buy this photograph if it were me?” If we want to have successful photography businesses, we have to create images people want to pay for! Knowing how to light people and pose them to make them look good is extremely important. This posing chart for men and women done by Monte Zucker is available on his website at: http://www.photographeveryone.com/posing

There are two basic poses to remember: feminine and basic. Explained in very simplistic terms, the feminine pose turns the body at about 45° to the camera, drop the shoulder farthest away from the camera and has the female subject tip her head toward the higher shoulder. The light should cross the front of the body rather than come straight at it which will emphasize curves and details in clothing. This pose is excellent for women with thin to normal size bodies and youth to middle age. The basic pose works for men, and heavier and/or elderly women. The reason is the light is directed straight at the front of the body, and this will show less details and neck wrinkles or curves than the feminine pose. The head should be straight with body (like the line a tie creates) rather than tipped, especially in men.

Then there are three camera positions: front, 2/3s, and profile. If you turn your subject to create these different camera positions instead of moving your camera, remember that your lighting will need to move with them to create the same lighting pattern. (It may be easier to move your camera, if your background is suitable from the different angles.)

All of these use the Loop Lighting patterns. You will learn about different lighting patterns in Advanced Studio Lighting, but don’t be afraid to learn what they are and explore outside of class. A great book I got, after a seminar by the authors at WPPI convention, is The Portrait - Understanding Portrait Photography by Glenn Rand and Tim Meyer. (Sorry profs J, but it was much more helpful than the textbooks we used.)

Once you master these in the simple posing above, you can start using it in creative and fun posing situations and with multiple people in your image.

Now all you need to do is practice. I suggest you find a statue of large stuffed figure you can practice on. They don’t get tired or angry by being photographed over and over. Start there and when you feel confident enough, move to real people. Clay Blackmore said it takes about 10,000 hours of practice to be good, and 100,000 hours to be a master!

Do you have any portraits you would like to share with us?

Works Cited

Clay Blackmore. Explorers of Light. Canon, Inc. 2013. 1 Aug 2013. http://www.learn.usa.canon.com/resources/contributors/explorers/blackmore_bio.shtml#

Rand, Glenn. Meyer, Tim. The Portrait. Rocky Nook, Inc. Santa Barbara, CA. 2010. Print.

Zucker, Monte. Posing Guide. How to Photograph Everyone. 2013. 1 Aug 2013. http://www.photographeveryone.com/posing


Sunday, July 28, 2013

Lighting Class

Happy Sunday Everyone!!  I hope you enjoyed the past week. Today I wanted to talk a little about lighting. In the past I was always afraid to use studio lighting, I found it intimidating and difficult to do. Over the years I have tried and tried to figure out studio lighting. I just never seemed to be able to get it right. So when I saw what my next class was that was coming up I was really excited. The class was PH136 Lighting class.  As I went through the course outline, I looked to see who my instructor was going to be. I found out that my instructor was Reuben Njaa, so I did what we all do nowadays, I “Googled” him. What I found was someone who was amazing with painting with light, and he appeared to have so much knowledge and this really excited me. I looked over his personal website http://www.reubennjaaphotography.com/ for hours, looking at all of his amazing work.

When shooting portraits remember that there are many different types of lighting. Each will give you a different result.(Hurter)

Split Lighting – is used when the key light illuminates only half the face. It is an ideal slimming light. It can be used to narrow a wide face or nose.(Hurter)

Rembrandt Lighting - is characterized by a small, triangular highlight on the shadowed cheek of the subject. This type of lighting is dramatic.(Hurter)

Butterfly Lighting - lighting pattern that produces a symmetrical, butterfly-like shadow beneath the subject’s nose. It tends to emphasize high cheekbones and good skin.(Hurter)

Rim Lighting - is used when the subject’s head is turned 90 degrees from the camera lens. It is a dramatic style of lighting used to accent elegant features. It is used less frequently now than in the past, but it still produces a stylish portrait.(Hurter)

Loop Lighting - This is one of the more commonly used lighting setups and is ideal for people with average, oval-shaped faces.  (Hurter)

One of the things that I remember that stands out the most is one of my first interactions with him. Our first assignment we had to post a Bio, and as the comments flowed, I had told him” I want to be just as good as you are!” His reply not only surprised me but has to this day inspired me. Reuben Njaa said this” Don’t try to be as good as me, try to be better than me”.  I keep that in the back of my head each and every time I shoot.  Thanks Reuben you have been a true inspiration.

Below are a few of the photographs I took during PH136 with Reuben Njaa


 Photos by Wayne Salat
  Photos by Wayne Salat
  Photos by Wayne Salat
  Photos by Wayne Salat
 Photos by Wayne Salat


Enjoy Your Sunday and Photograph Something Everyday!

Sunday Ambassador~ Wayne


Hurter, Bill. "The Five Basic Portrait-Lighting Setups." Sekonic Control Light. Sekonic, n.d. Web. 23 Jul 2013. <http://www.sekonic.com/whatisyourspecialty/photographer/articles/the-five-basic-portrait-lighting-setups.asp&xgt;.

Sunday, July 21, 2013

Good Morning from your Sunday Ambassador. My name is Wayne, I am currently enrolled in the BS Photography program.  I hope you are all staying cool from this heat wave. There are many different areas of photography, as there are many wonderful photographer's. One of my favorite subjects to photograph are weddings. This is a face paced environment and you don't always have the time to set up and get that "spectacular" image. I have worked with some great photographers who's idea was quantity not quality. So by the end of an 8 hour wedding they may have 3000 images, but many are unusable. Use your available ambient light, and always shoot in manual.

When photographing a wedding it is very vital that you know your equipment. This includes your camera, speed lights, strobes, remote triggers, reflectors and soft boxes. Try not to rush your images, take your time so that you can create those long lasting memories for your clients. Furthermore, know the advantages of shooting in manual mode vs. shooting in auto or one of the presets. Manual allows you, as a photographer to create the photograph and not allow the camera to decide what the final image looks like.

When photographing, I always shoot in RAW instead of JPG because RAW will capture all the data in the image with minimal compression. This allows for easier post production.

Below are some photographs from two recent weddings. Please feel free to ask questions and leave feedback.

                                                         Flash Mob Photography Network - Wayne Salat
   Flash Mob Photography Network - Wayne Salat
                                                       Flash Mob Photography Network  - Wayne Salat
                                                          Flash Mob Photography Network - Wayne Salat